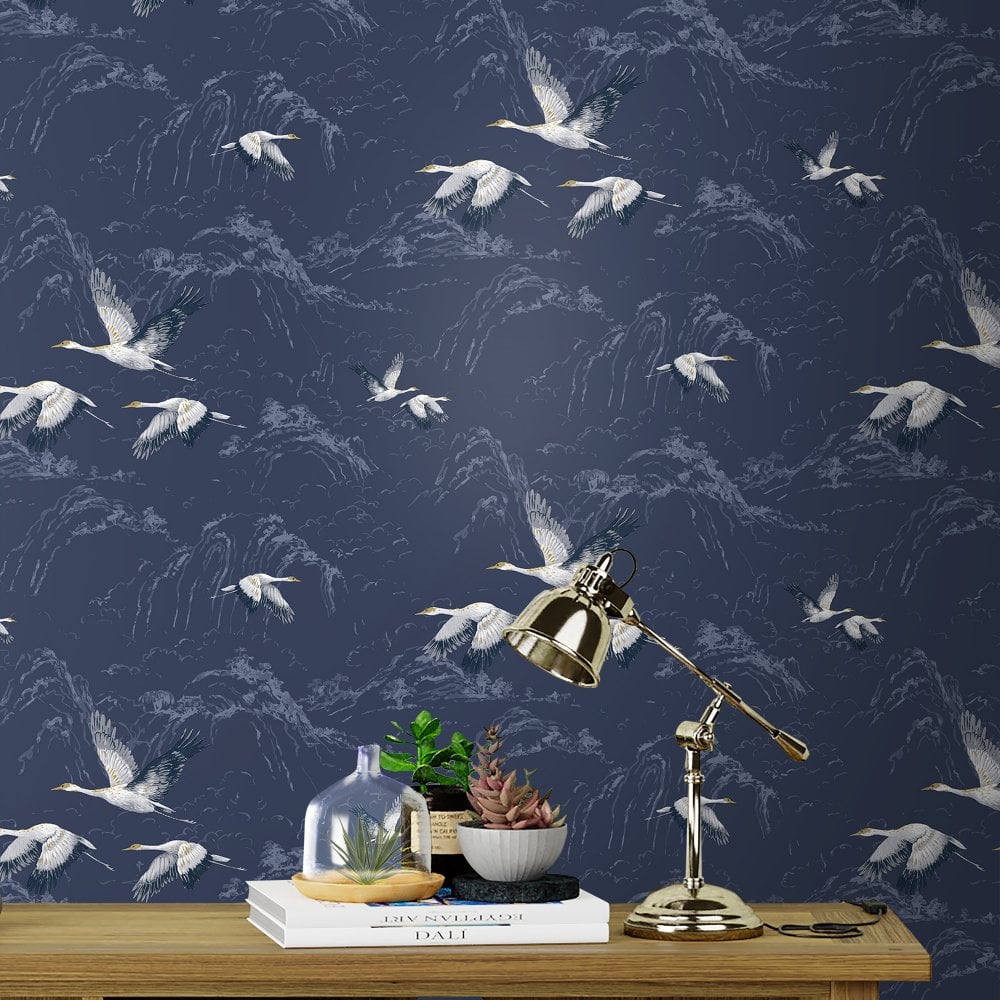
Wallpapers and murals for walls.
This guide speaks about How To Hang Wallpaper, within your home. Wallpaper is an easy way to update the look of any room or setting. It’s also a terrific way to add colour and pattern to a room, bringing your personality and flair into your surroundings.
When it comes to wallpapering, you may need to determine whether to do it yourself or employ a professional. Wallpapering is a pretty straightforward process, but you may not want to take the risk if the wallpaper is particularly lovely, rare, or expensive.
This guide is to refresh the mind of the seasoned DIYer who’s about to hang an expensive wallpaper, it’s always good to get a little refresher as time can pass between doing one room and the next, we can all get a bit out of practice. This instruction is also suitable for beginners, as it covers all of the fundamentals of wallpaper installation. From what tools you’ll need to dealing with the tricky bits.
Determine how many rolls of paper you’ll require once you’ve chosen on the ideal paper for your room work. Keep in mind each style of wallpaper will have a different pattern repeat. Often the shop will be able to help you work out how many rolls you’ll need if you can provide the measurements.
Measure

How to measure for wallpaper?
Measure the height and width of each wall, leave in windows and doorways. Add all the wall measurements height together, do the same with the widths.
Check out below on the chart your total widths are along the top and total height at the side. The number of rolls you’ll need is charted where the height and breadth meet; it’s a rough guide; you’ll still need to allow for a pattern match.

We’d recommend the below calculation for wallpapers without a pattern repeat (ideally using a metal measuring tape for the best accuracy):
- Measure the total perimeter (length) of your wall or walls that you want to paper in metres (It’s best to include doors and mirrors in this total, as you’ll need to paper around these).
- Next, measure the height of your walls and multiply it by the number of the total width which will give you the square metre coverage that you need (you can leave the skirting boards out of this total unless you plan to cover them).
- Divide this total number by the length of the wallpaper roll you are buying (most are 10m).
- This will give you the number of rolls needed to cover this wall area (without any pattern repeat).
For wallpapers with a pattern repeat, you’ll need to calculate the below in addition to the above:
- Multiply the pattern repeat by the total number of wallpaper rolls as calculated above.
- For example, if your pattern repeat is 46cm on a 10m roll, you’ll need an additional 4.6 metres squared
- Divide this by the length of the wallpaper and this will tell you how many additional rolls you will need to account for the pattern repeat.
Tools Needed
- Filler
- Sandpaper
- Pencil
- Sharp Craft Knife
- Scissors
- Paste
- Sprit Level or Plumb line
- Tape Measure
- Pasting Brush And/Or
- Roller and Tray
- Smoother Brush or Seam Roller
- Damp Cloth or Sponge
Prepare the walls to hang your wallpaper
If you haven’t already strip off the old wallpaper. Do the best you can to make the walls as clean and flat as possible. After the old pair is off you can see better the state of the walls and you may see holes rough plaster cracks that previous had been covered. This is the time to fill-in holes and cracks. Most fillers are easy to use and smooth flat with the sandpaper. It’s worth investing time with the prep as the result of flat wallpapered rooms are so much more satisfying that a bumpy wall. If you have no chance covering all the cracks ensure you choose a heavy wall paper or use a lining paper and put nice paper over this. Wash down the walls with a sugar soap especially if its fresh bare plaster, new plaster will suck up the paste too quickly otherwise making it more difficult. Now you’re ready to paper.
Paste the Wall (or the paper)

Some wallpapers are paste the wall and some paste the back of the paper. Our Laura Ashley ranges are all paste the wall, which most people seem to prefer. I guess it’s easier to carry unpasted paper, as it leaves less chance of ripping the paper or becoming stuck to itself!
Get the first strip right

It’s worth spending a few minutes considering where to start. As every room is different. If you have a large pattern paper over a mantle piece, you will undoubtedly want the design to be centred over the mantle. Most people prefer working from left to right, but if you’re left-handed or simply like it, go for it.
The first strip is key – get this right and the rest will follow suit. If your first strip is crooked, the rest will be as well.
Using a plumb line mark where the line is with a pencil. You can do a few dash pencil marks down the wall and join these up using a baton or a longish spirt level as a ruler, this will make hanging your wallpaper a lot easier. If your spirit level is an app on your phone maybe this tip won’t work for you!
Take care hanging the paper get if straight, flat and stays on the wall. If you have to little or too much paste the paper may slide or fall off. We’d recommend pasting one strip at a time so you can adjust the amount of paste if required. If you’re using paste to the wall just cover the wall a little wider than a strip of paper, as getting too far ahead the paste may dry before you’re ready. to hang the next strip.
Matching patterns

This is an art form. It can take a moment to get your eye fixed on the match. Knowing how far apart the pattern repeat is can help. Find a noticeable feature be it a funny shape or colour sponge and commit this to memory.
Patterns don’t always match at the same point in the paper. This falls into 3 types of match.
- Exact Match
- Overlapped
- Off Set
Perfect match One paper always lines up precisely with the next, even though it’s not always obvious at first.
Overlapping occurs when one paper’s narrow margin overlaps the other.
Then there’s what’s know as off set matching. This can be around 12 inches above or below.
Smoothing it down.
After each strip is hang, matched and straight smooth the paper down to get rid of any bubble. If the paper seems to be rising at the seems ensure you have enough paste. You can normally prize up the edges tiny bit and put a little paste from you brush down the edge, Re-smooth it down and hang the next strip. Roller the edges or seems to ensure they are nicely pressed against the wall, as the edges can sometimes lift. This is due to the edges of the paste drying out if air gets under.
If you get paste on the front of the paper use a clean damp cloth or sponge to lightly wipe off the excess.
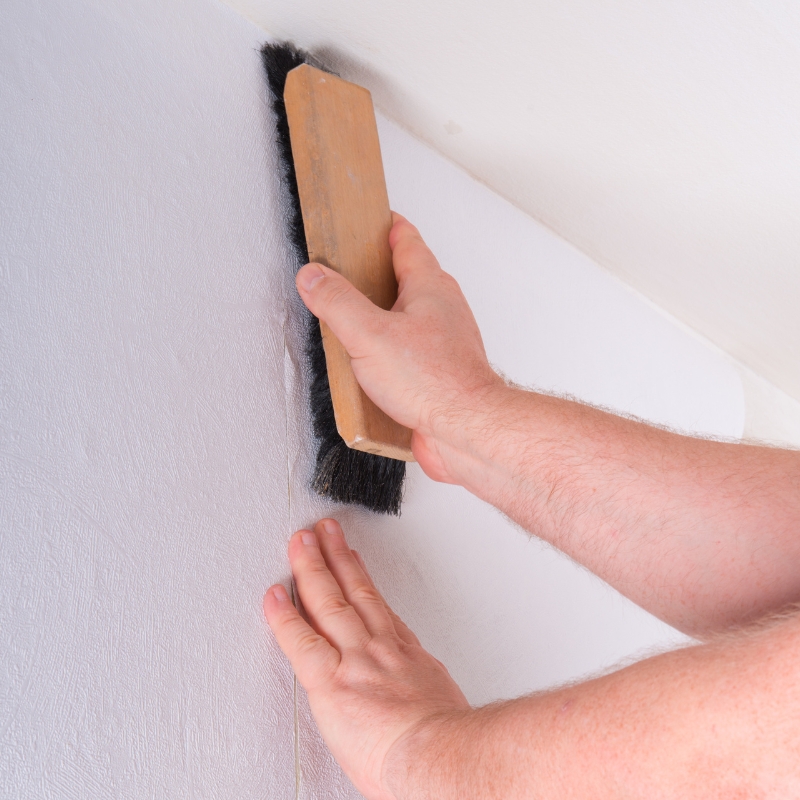
How to do the tricky bits
Notoriously there are tricky bits corners both inward corners and outward corners. Around windows, doors, fireplaces, sockets and switches. Here a few tips to getting the finish perfect even around the obstacles and challenges. We mentioned earlier to allow at bit extra paper for the mistakes, this is where you’ll be glad you did. The notice will no doubt say a few bad word and tear down a strip of paper at some point.
Wallpapering – where to start?
We mentioned early starting your wallpaper over the fire place centrally this is important if you have a pattern as the room may feel off kilter if a large pattern runs off center. Symmetry isn’t always required but we’d recommend it is the case of a fireplace or a feature wall.
The last strip joins.
It would be amazing if every drop of wallpaper around the room matched but the starting and stopping point of your paper hanging won’t match up.
This is fine if you’re doing a feature wall wallpapered but if papering the entire room you’ll need to consider where you can end your paper.
The favoured places seems to be under a window or the edge of a door. If the join is not seen because of a large piece of furniture of a full length curtain that’s the best solution.
There’s always going to be one or two places that will be little tricker to decorate but worry not, there’s a way to do it. Typically windows, doors and corners take a little patience don’t rush it’s worth taking your time to get this right, as right as you can, most people don’t notice a small mistake in paperhanging but if your doing it yourself you’ll notice it often, so pause think and when ready cut the paper with confidence a shaking hand won’t cut it when it comes to going around a window sill.
Best of luck with your new look home. Wallpaper really does make all the difference to a room!